How We Built Our Minimalist Walnut Desk
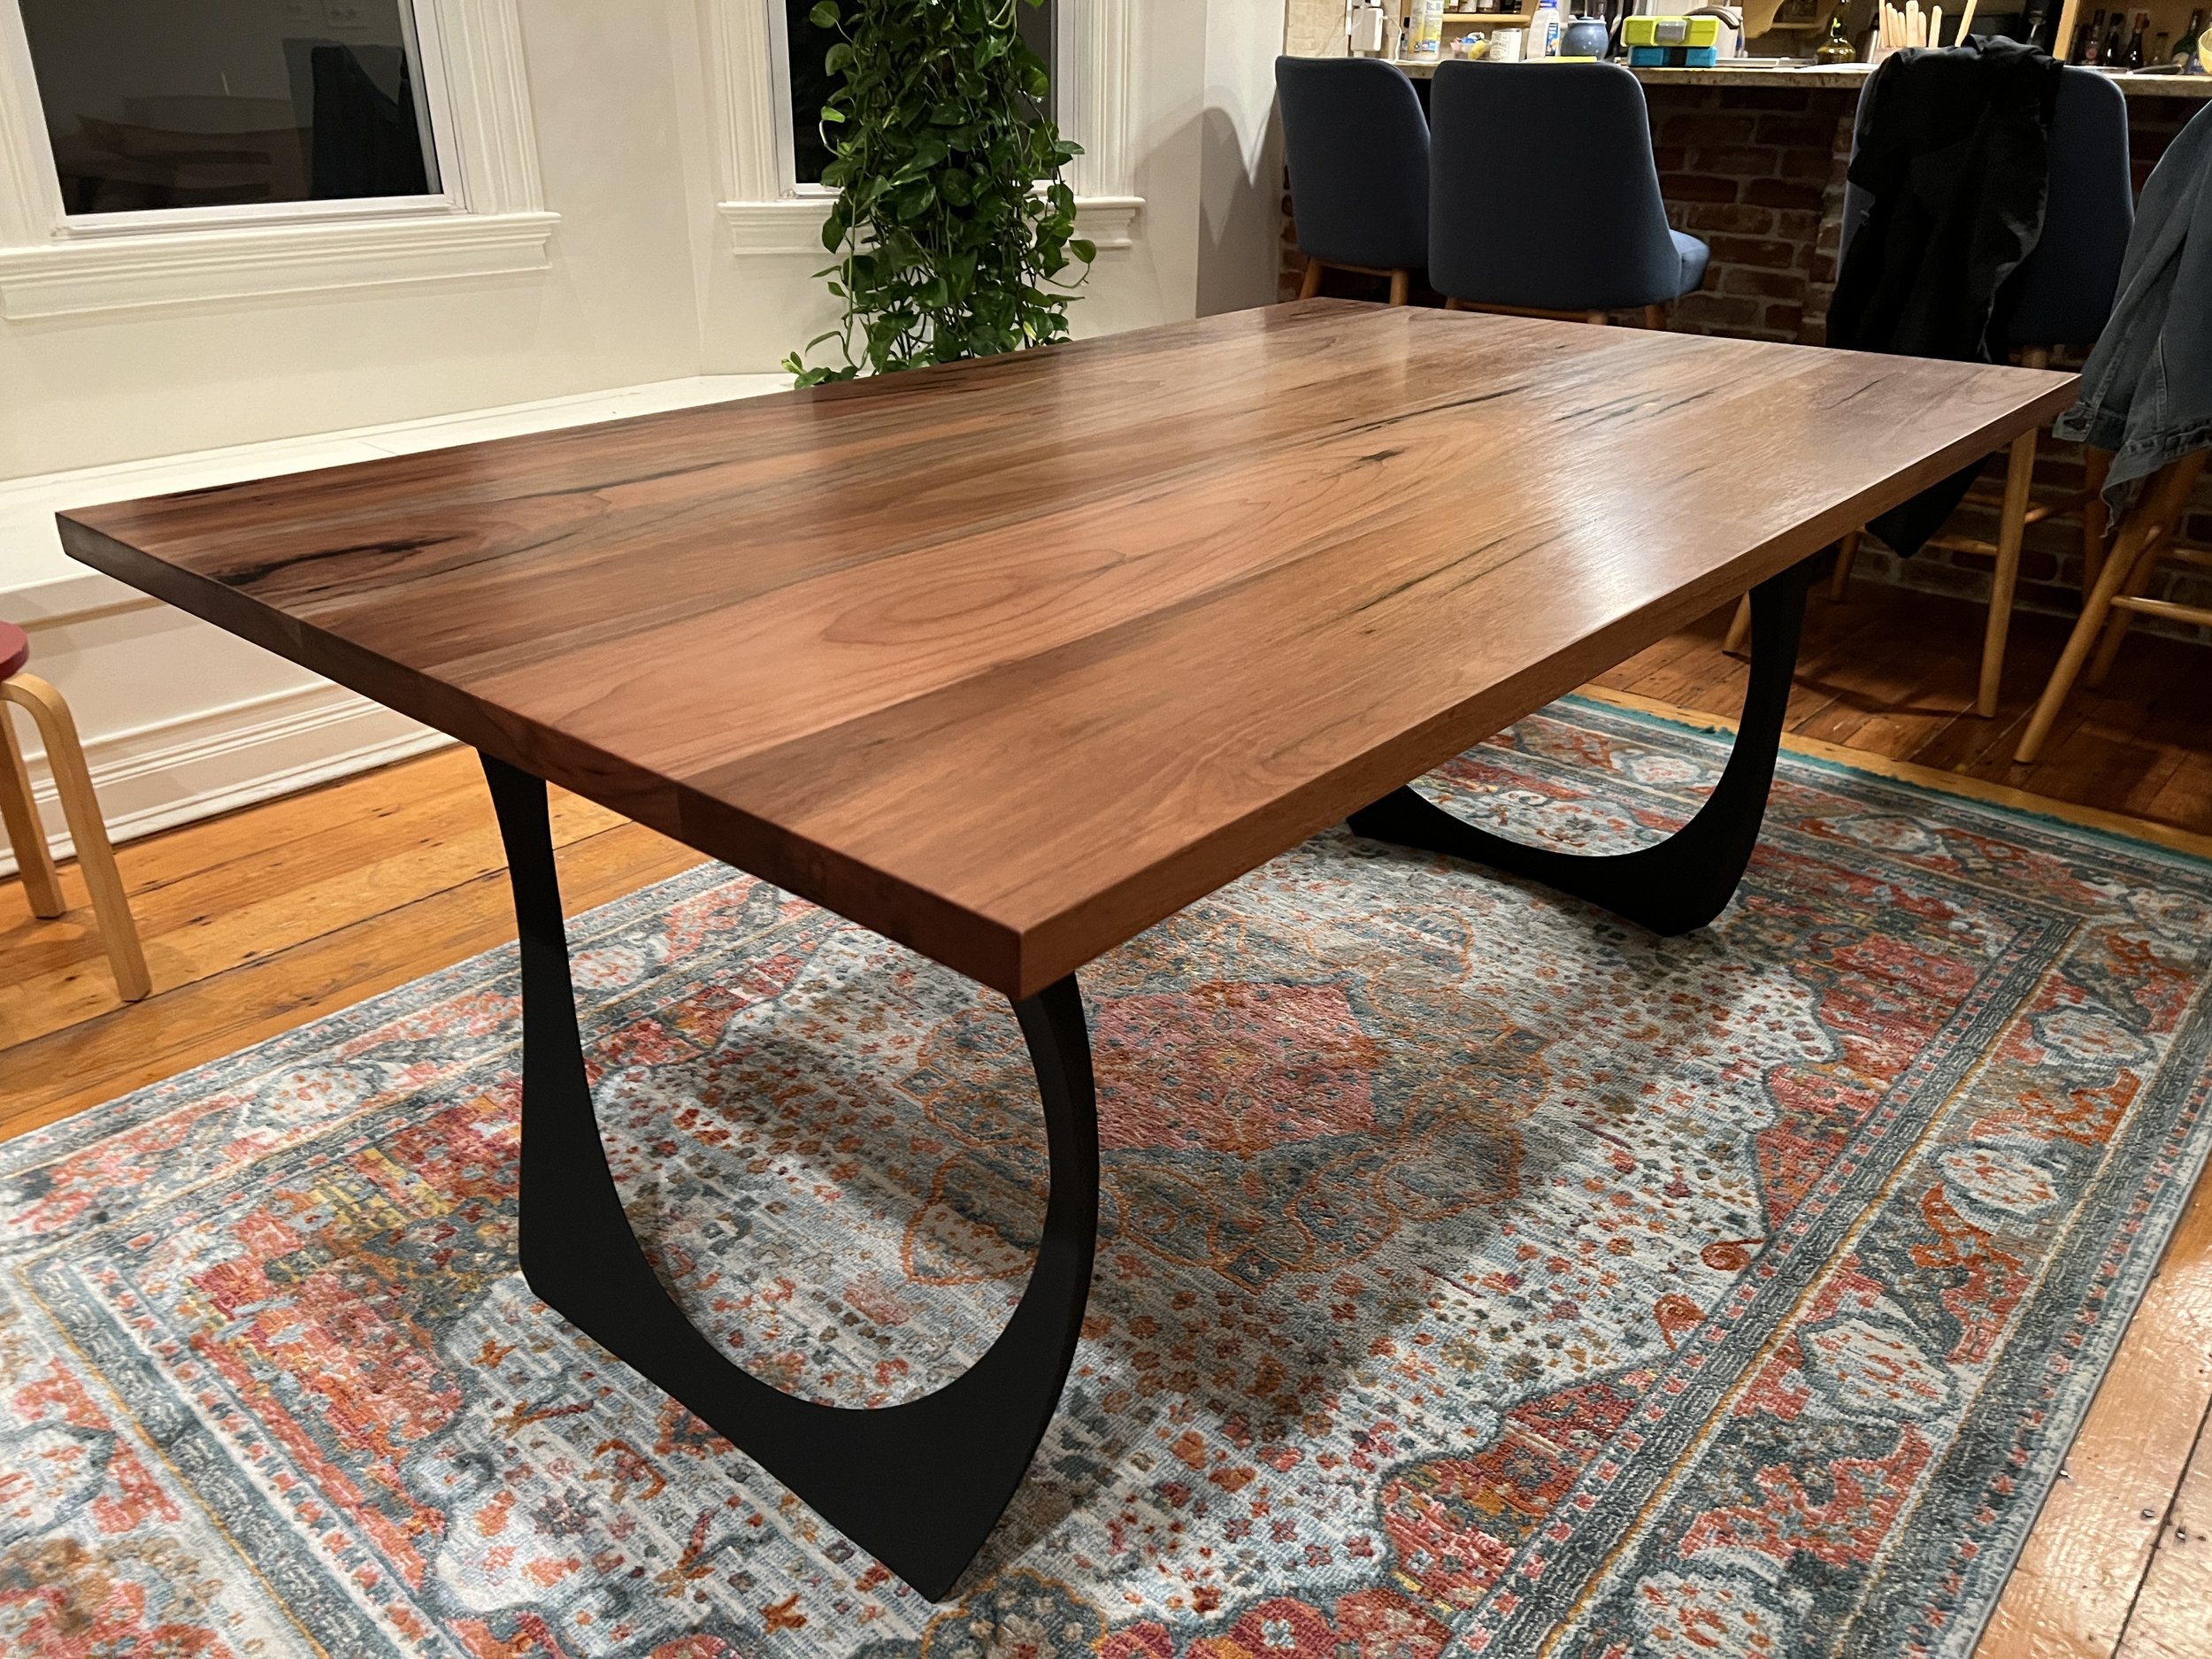
Bolivian walnut is an incredible wood, with its most spectacular feature being its distinctive wood grain. Native to South and Central America, the Bolivian walnut tree grows to massive heights of up to 130 feet. It is hard, durable and resistant to termite attack, making it a reliable material for all sorts of projects, ranging from solid wood coffee tables to porch paneling. In this case, we were planning to create a minimalist desk out of it.

The marvel of the wood is in the interesting patterns that cover its surface. We discovered this beauty in the milling process, the start of any woodworking project. Milling wood is what we call the process by which we make curved and uneven planks flat,workable, and of the correct thickness for a project.
The milling process has two steps. The first step involves using a machine called the jointer. The jointer takes off the outer skin of the wood, revealing the gorgeous grain underneath. The piece of walnut that is being worked is moved along the flatbed of the machine until it reaches the cutting blade. The cutting blade is inset into the machine, and it can be raised or lowered to take off less or more of the material. Once the wood is dragged across the blade, its uneven parts are shaved off. After one side of the walnut piece is flat, one can square up the edges of the plank to make its edges meet at a 90 degree angle. Next, the wood is run through the planer, which is a machine that shaves layers of the wood until it reaches the thickness one needs for the final product. It can only take off a certain amount of wood at a time - usually a sixteenth of an inch. As such, if there is a lot of material to take off the wood is run through a couple of times so as not to overwhelm the machine. To use the planer, all one has to do is set the desired thickness they want and push the wood into the machine. It proceeds to grab the wood and pull it through; simultaneously, there is a cutting blade that is shaving off the top of the plank.

After milling several planks of the walnut, we began gluing the pieces together. Once the glue dried, we carved out the rotten areas of the wood; these areas lay inside crevices of the grain and needed to be cleaned to maintain the high quality of the walnut table. It is especially important to remove these pieces of the wood because otherwise the rot might spread throughout the piece. The problem needs to be dealt with as soon as possible to preserve the walnut desk and keep it from decaying over time. Of course, we couldn’t just leave these areas empty - it wouldn’t be perfectly flat if we did. To remedy this problem we filled the holes with a black epoxy, creating a stark contrast against the warm brown of the wood.
Finishing off the walnut desk involved sanding the table to a smooth surface of 800 grit. This is the highest level of smoothness one can get to, and getting it to this impeccable state always starts with sanding it with 80 degrees sandpaper - one of the roughest grits available. After that, we work through the levels of sandpaper (100, 120, 150, 180, 220, and 400 grit) until we can complete it with 800. Going through these painstaking steps makes sure that there are no scratches or crevices in the wood. Finally, we put a rubio coating on the walnut desk, giving the wood a glossy look and protecting it from stains or getting bleached by the sun as time passes.